Sierra_Alpine
Bronze Level Sponsor
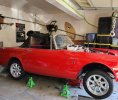
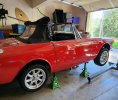
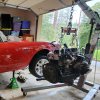
Hi all,
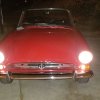
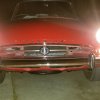
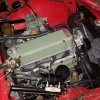
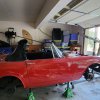
I have been documenting my process on my Instagram but am going to drop all the content in here too. Enjoy!
Here's the Instagram if you want to follow there.

 www.instagram.com
I have been documenting my process on my Instagram but am going to drop all the content in here too. Enjoy!
Here's the Instagram if you want to follow there.
Luke (@motoroilandmountainviews) • Instagram photos and videos
105 Followers, 75 Following, 21 Posts - See Instagram photos and videos from Luke (@motoroilandmountainviews)
www.instagram.com