Aladin Sane
Diamond Level Sponsor
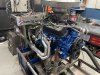
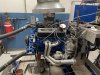
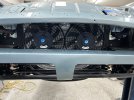
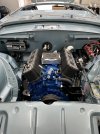
I was thinking of mounting my fuse box under the dash. I can see were under the hood may be easier.
As a chemical engineer, I will be even more daunted.
As a chemical engineer, I will be even more daunted.
")