-
Welcome to the new SAOCA website. Already a member? Simply click Log In/Sign Up up and to the right and use your same username and password from the old site. If you've forgotten your password, please send an email to membership@sunbeamalpine.org for assistance.
If you're new here, click Log In/Sign Up and enter your information. We'll approve your account as quickly as possible, typically in about 24 hours. If it takes longer, you were probably caught in our spam/scam filter.
Enjoy.
You are using an out of date browser. It may not display this or other websites correctly.
You should upgrade or use an alternative browser.
You should upgrade or use an alternative browser.
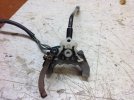
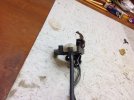
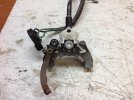
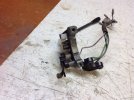
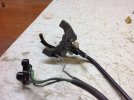
Turn signal assembly for SV
- Thread starter DanR
- Start date
ernestovumbles
Gold Level Sponsor
I used this for info when I did mine
 67sunbeamalpinedotcom.wordpress.com
I also have a few pictures on my flickr site but not specifically grouped for the turnsignal repair..
I can group them into a single set if you need..
Turn Signal Switch–Again and Again
The turn signal switch has not worked properly for more than a few weeks since the Sunbeam rolled off the truck in 2016. When the car arrived, the turn signal stalk drooped down and was permanently…
67sunbeamalpinedotcom.wordpress.com
I also have a few pictures on my flickr site but not specifically grouped for the turnsignal repair..
I can group them into a single set if you need..
ernestovumbles
Gold Level Sponsor
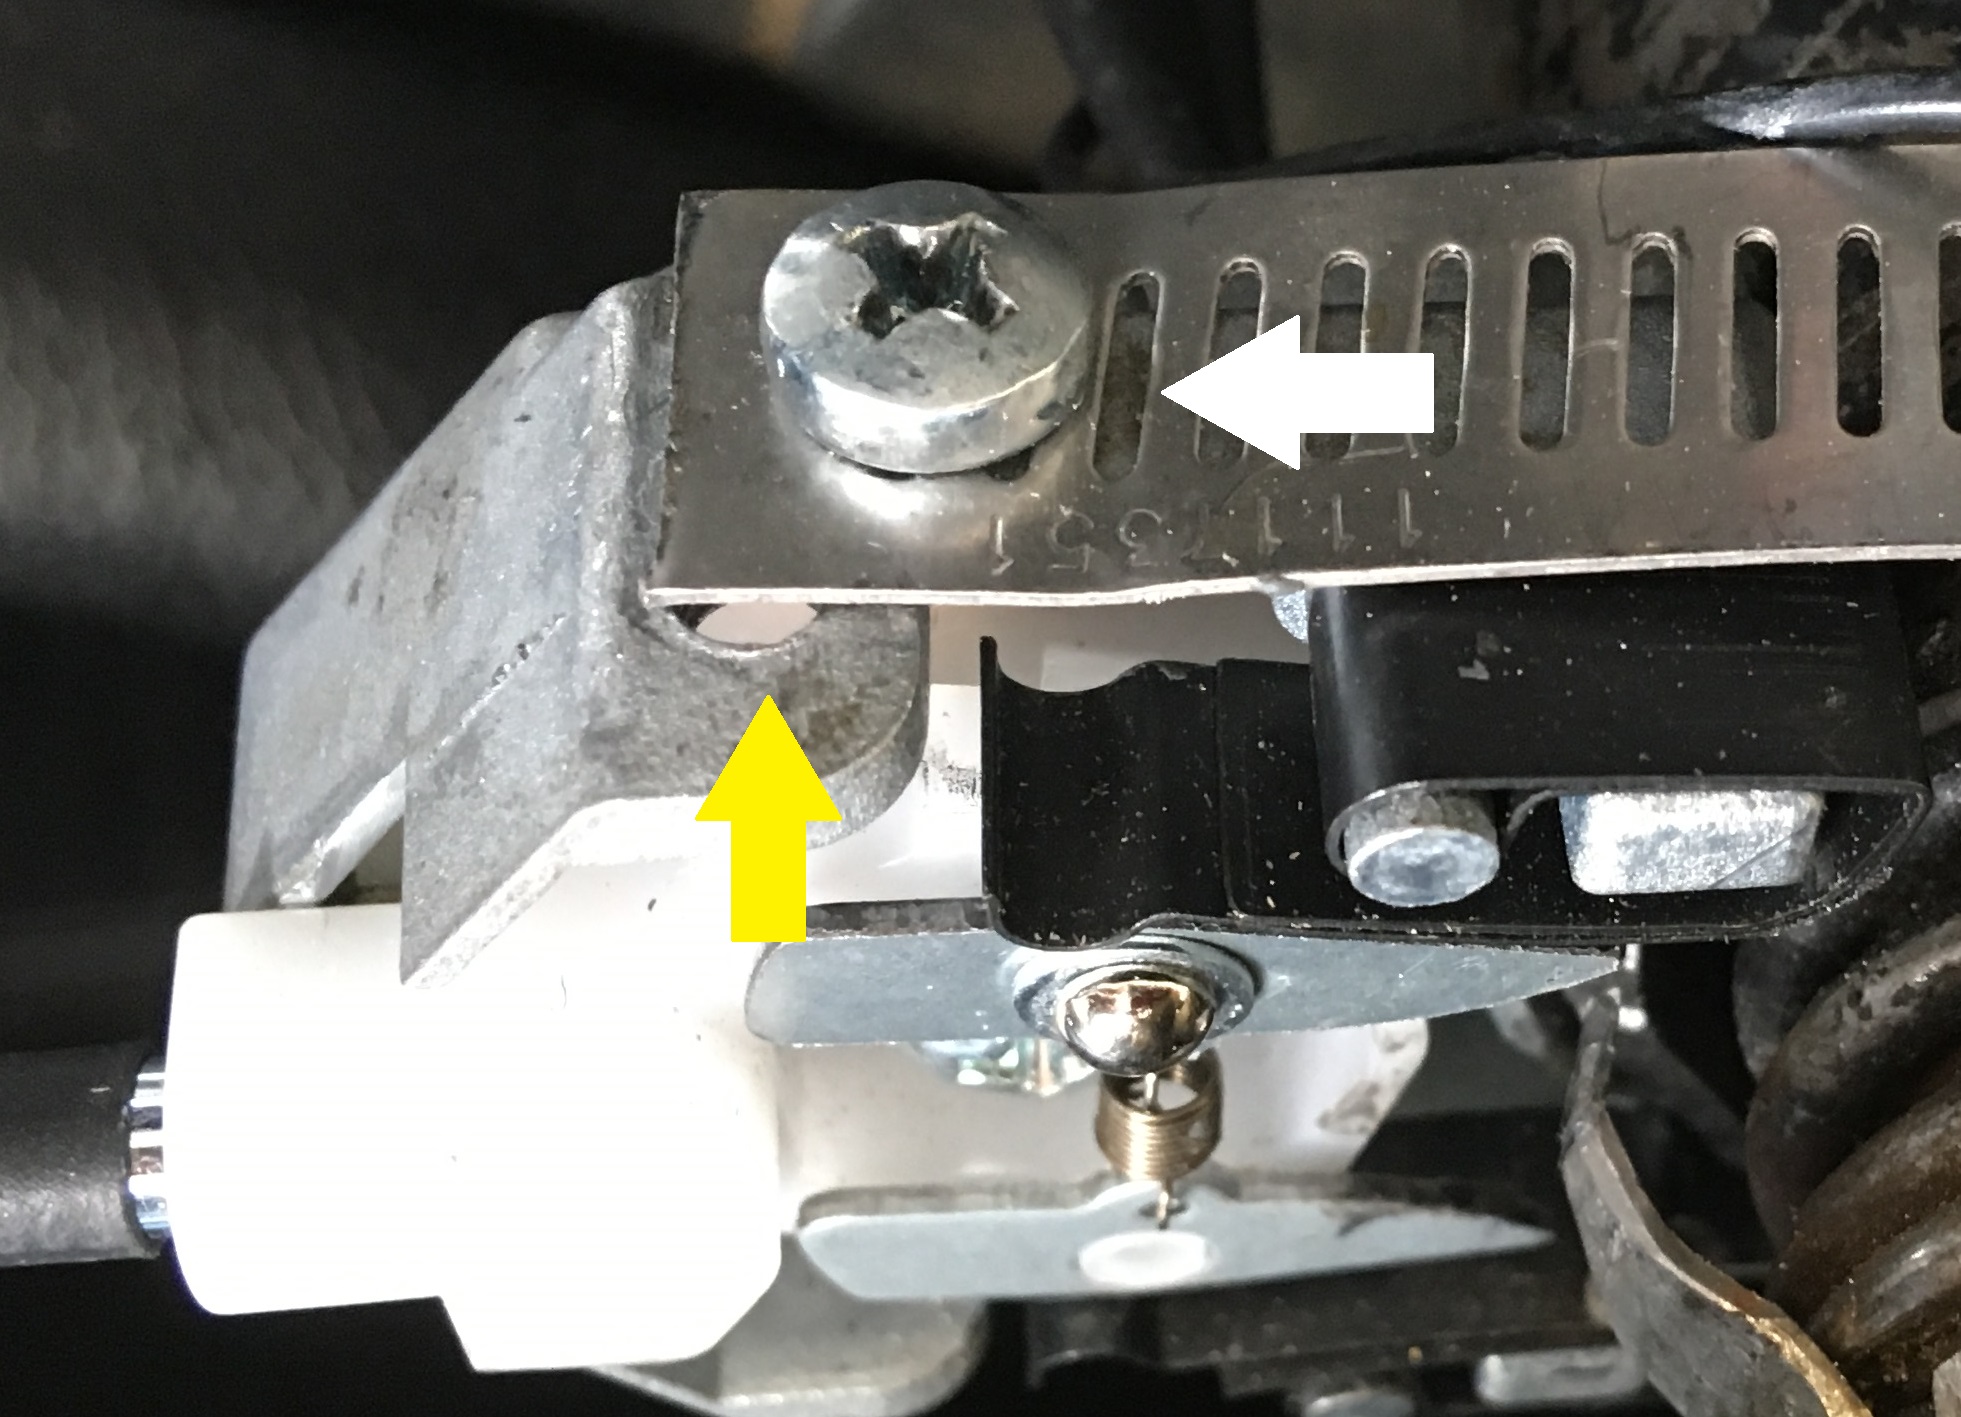
Sorry.. I dont have that. I took apart as little as possible to give my best chance of getting it all back.
Hardest part was keeping the small spring and the metal clip in the right spot and holding it all together while reassembling the unit.
I was able to make the self-canceling part work (which was not working when I got the car)
I hope to not have to do it again ;-)
Hardest part was keeping the small spring and the metal clip in the right spot and holding it all together while reassembling the unit.
I was able to make the self-canceling part work (which was not working when I got the car)
I hope to not have to do it again ;-)

Acollin
Donation Time