• Welcome to the new SAOCA website. Already a member? Simply click Log In/Sign Up up and to the right and use your same username and password from the old site. If you've forgotten your password, please send an email to membership@sunbeamalpine.org for assistance.

    If you're new here, click Log In/Sign Up and enter your information. We'll approve your account as quickly as possible, typically in about 24 hours. If it takes longer, you were probably caught in our spam/scam filter.

    Enjoy.

Series V hardtop weatherstripping

Green67Alpine

Former SAOCA Membership Director
Platinum Level Sponsor
Hello Folks,
Does anyone have some pictures of how the weatherstripping is positioned on the top that they'd like to share? Any and all would be greatly appreciated.
Thanks, Tom j
 

hartmandm

Moderator
Diamond Level Sponsor
Tom,

I'm interested in this thread, too. Attached is a photo of my hardtop. It is the area above the driver's window. It includes a bit of the vertical piece in front of the quarterlight window. I am obviously missing something, given the screw holes. It looks like I am missing part 267 in the diagram below - a cantrail seal. I think I have those seals, but need to find the holes for mounting. See this thread: https://forum.sunbeamalpine.org/index.php?threads/identify-the-rubber-trim.30781/

1675472052680.png

1675472122774.png

Mike
 

Attachments

  • IMG_4098.JPG
    IMG_4098.JPG
    1 MB · Views: 26

ernestovumbles

Gold Level Sponsor
My Hardtop is stashed in the basement and I can drag it out to better light and take pics if needed.

I really dont know what condition or how original it is.

What areas do you need detail for?


52667867702_e09edb3144_b.jpg
 

Green67Alpine

Former SAOCA Membership Director
Platinum Level Sponsor
Everything helps. My top was functional but had been "retro" fitted with weatherstripping none of which resembled factory seals. Couple of questions, on the vertical post in front of the quarter window does the thin piece of rubber really just stick out about 90°(as it appears to fit best) instead of covering the window hinge like to me it seems it should? Across the front hardtop to windscreen header seal does that go into a "C" channel like the one that's around the rear bottom, if so where in the world world you find one of those ? I did find the rear channel from the UK.
Thanks for any information, Tom j
 

ernestovumbles

Gold Level Sponsor
Ok.. I have added some more detail of what mine looks like and I have it in a Flickr Album here


If you prefer I can cross-post them on this site as well.
Hopefully I got all the spots you need, but I can add anything additional if you need.. just let me know
 

bulldurham

Platinum Level Sponsor
Tom, part # 278 is held in place behind the vertical alum trim w/ 3 screws. It sticks out at 90 degrees.
Part #267 is held in place w/ I think 5-6 screws [ has a metal piece in it ] The flap serves the same purpose as the vertical
seal. The screw holes should not be hard to find. Once the window is properly adjusted it should seal well along top and rear of the window edge.
The window actually overlaps the seal about 1 inch at the rear..
 

Paul354

Diamond Level Sponsor
A couple other photos that may help
 

Attachments

  • IMG-0964 - Copy.JPG
    IMG-0964 - Copy.JPG
    1 MB · Views: 23
  • IMG-0965 - Copy.JPG
    IMG-0965 - Copy.JPG
    1.4 MB · Views: 22
  • IMG-0966 - Copy.JPG
    IMG-0966 - Copy.JPG
    1.4 MB · Views: 22

Green67Alpine

Former SAOCA Membership Director
Platinum Level Sponsor
Thank you for all the information it was most helpful in sorting out details that often get overlooked. One more question though on the hardtop to windscreen seal( #266 in the above diagram) is that piece in a channel or just glued to the hardtop ?
Tom j
 

Paul354

Diamond Level Sponsor
Part #266 (hard top to windscreen) goes into the channel with a screw at each end.
A bit of glue might help after it's fitted.
It was a fight to get it in the channel. A couple extra hands will help.
 

Green67Alpine

Former SAOCA Membership Director
Platinum Level Sponsor
A couple of extra hands ? I can see what you mean. Seems some more practice is coming up. That install is a bit on the challenging side. That said, is there a source for that channel that anyone knows of or even a substitute, as I used the one that I believe went to the soft top header bow and will need a piece for that when the time comes.
Tom j
 

bulldurham

Platinum Level Sponsor
Do what it takes to clean that channel, making sure all the bits of old seal, glue is gone. You can use warm soapy water to slick up the channel and w/ 4 hands you may be able to slowly slide it in from one end to the other. Otherwise its a process of using a dull edged tool to push it in a inch or so at a time. Still best to have 4 hands.
A few years ago I found a source for new channel but that info is gone now. Ill try to find it.
 

bulldurham

Platinum Level Sponsor
Tom, check out
Steele Rubber Products for seal retainers
Also Sunbeam Alpine/Tiger Spares also shows a seal retainer


Tom, check out Steele Rubber Products for the channel retainer; also Sunbeam Alpine/Tiger Spares shows supplying the channel retainer.
 

Gordon Holsinger

Diamond Level Sponsor
Do what it takes to clean that channel, making sure all the bits of old seal, glue is gone. You can use warm soapy water to slick up the channel and w/ 4 hands you may be able to slowly slide it in from one end to the other. Otherwise its a process of using a dull edged tool to push it in a inch or so at a time. Still best to have 4 hands.
A few years ago I found a source for new channel but that info is gone now. Ill try to find it.
I was poking around the web a couple of months ago and an E type site had channel by the foot.
 

Green67Alpine

Former SAOCA Membership Director
Platinum Level Sponsor
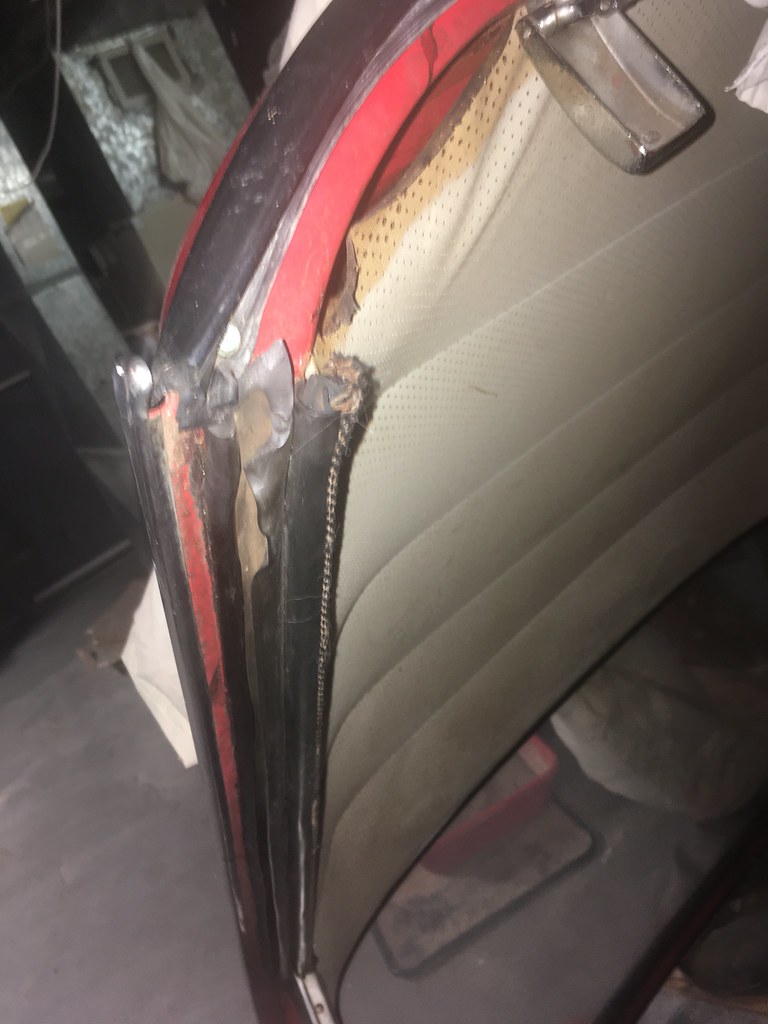
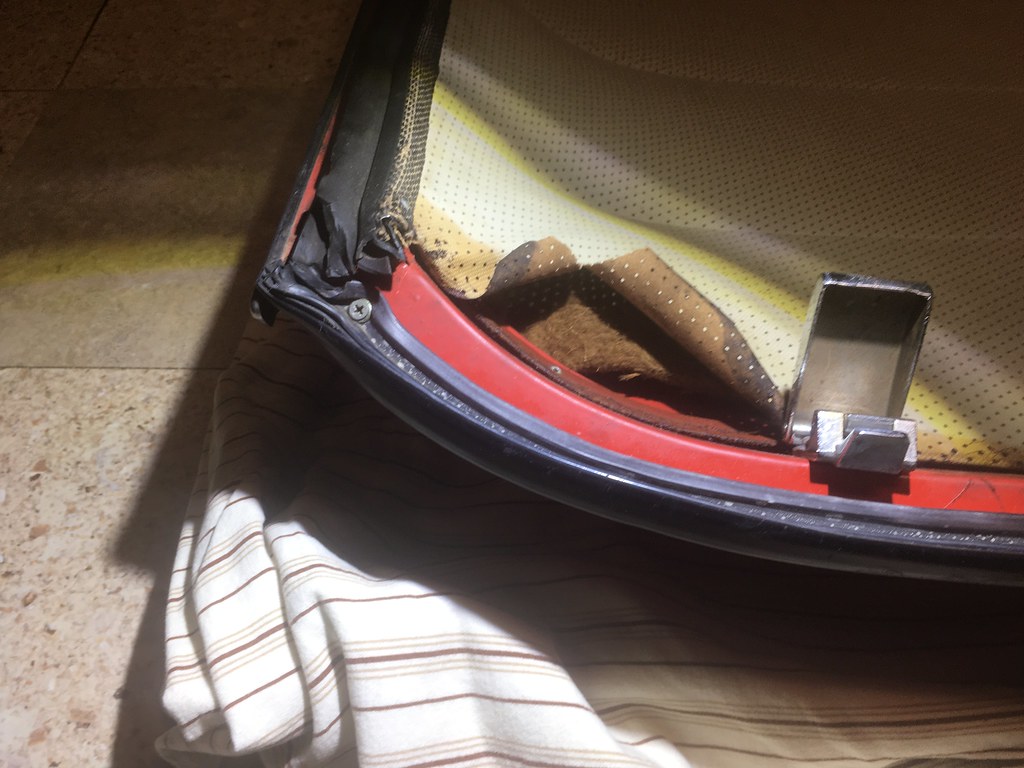
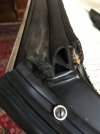
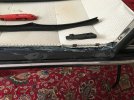
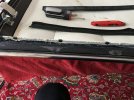
Thanks so much Gordon I'll have a look around. Thank you to everyone (Doug, Mike, Paul, Ernesto)who responded with ideas and suggestions, I did get it installed by pinching the gasket in half (length wise) a bit at a time and setting the front ( it would be nice to know the real terms for these parts) edge of the gasket channel "foot" into the actual channel and using a blunt trim tool pushed the rear of the "foot" into the channel, repeat, repeat, repeat. I started in the middle as the ends and curved areas were the most challenging, you can kinda tell when it's seated correctly as the "edges" (front and back) are smooth and laying down on the top . I then added the screw on each side and pulled slowly the leading edge of the gasket over the leading edge of the top you could possibly use the rope trick for gaskets but I did not try it that way. Extra fingertips would come in handy as mine are pretty sore from pinching and tucking.
I'm using the term gasket for weatherstripping.
Tom j
 
Top