
clhiller
Silver Level Sponsor
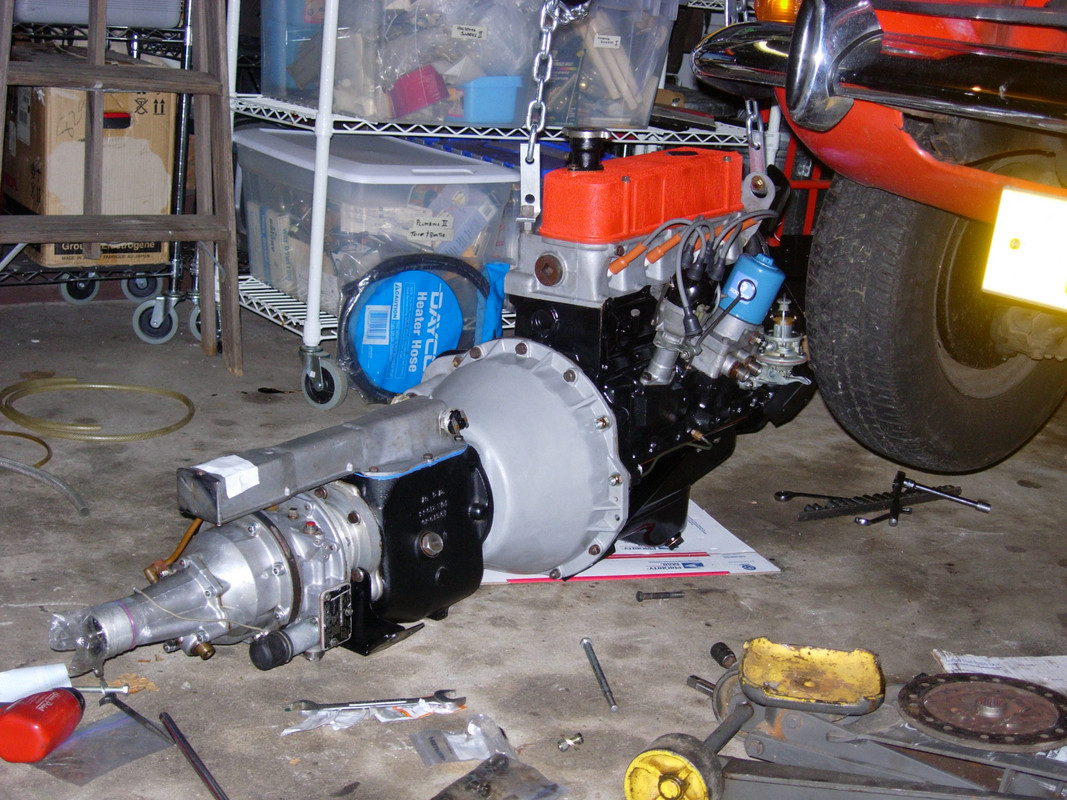
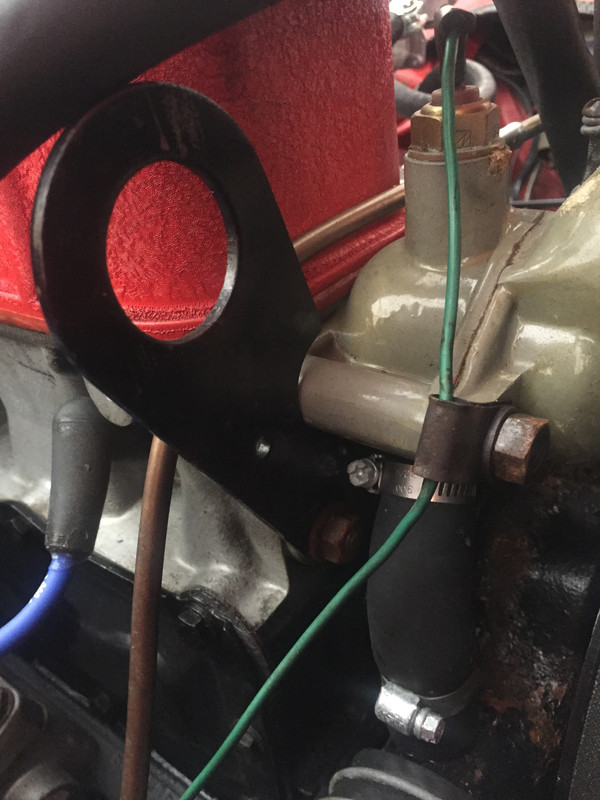
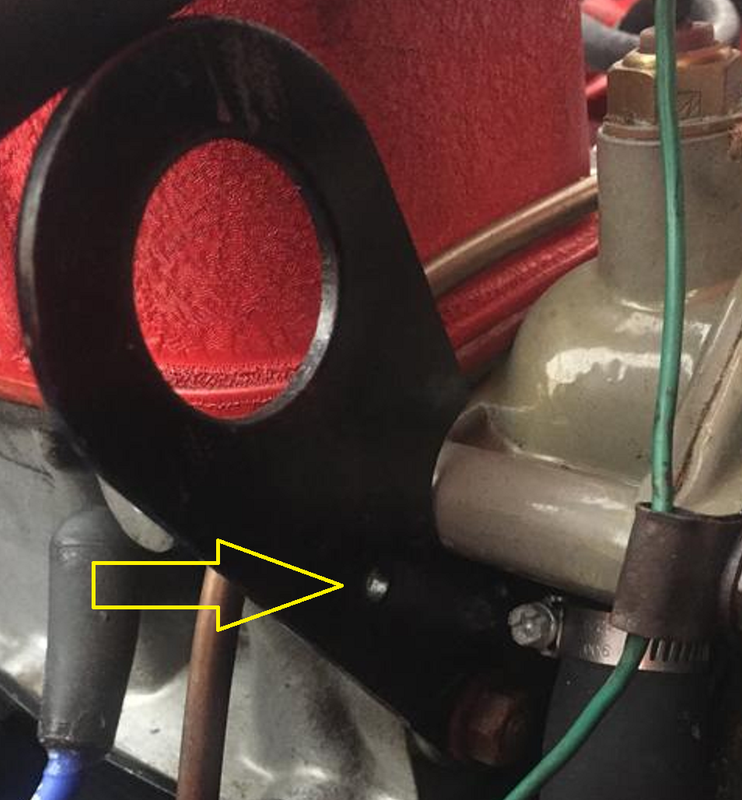
I am getting ready to remove the engine and tranny from my S1. I have the workshop manual and am pretty confident in the steps required. I'm just wondering where is the best place to attach my engine hoist. I have a tilting device to angle the engine/tranny to get it in and out, but which holes are the best to bolt it to?
Is it necessary/better to remove the intake manifold before removal? I will be rebuilding the carbs.
Is it necessary/better to remove the intake manifold before removal? I will be rebuilding the carbs.


")